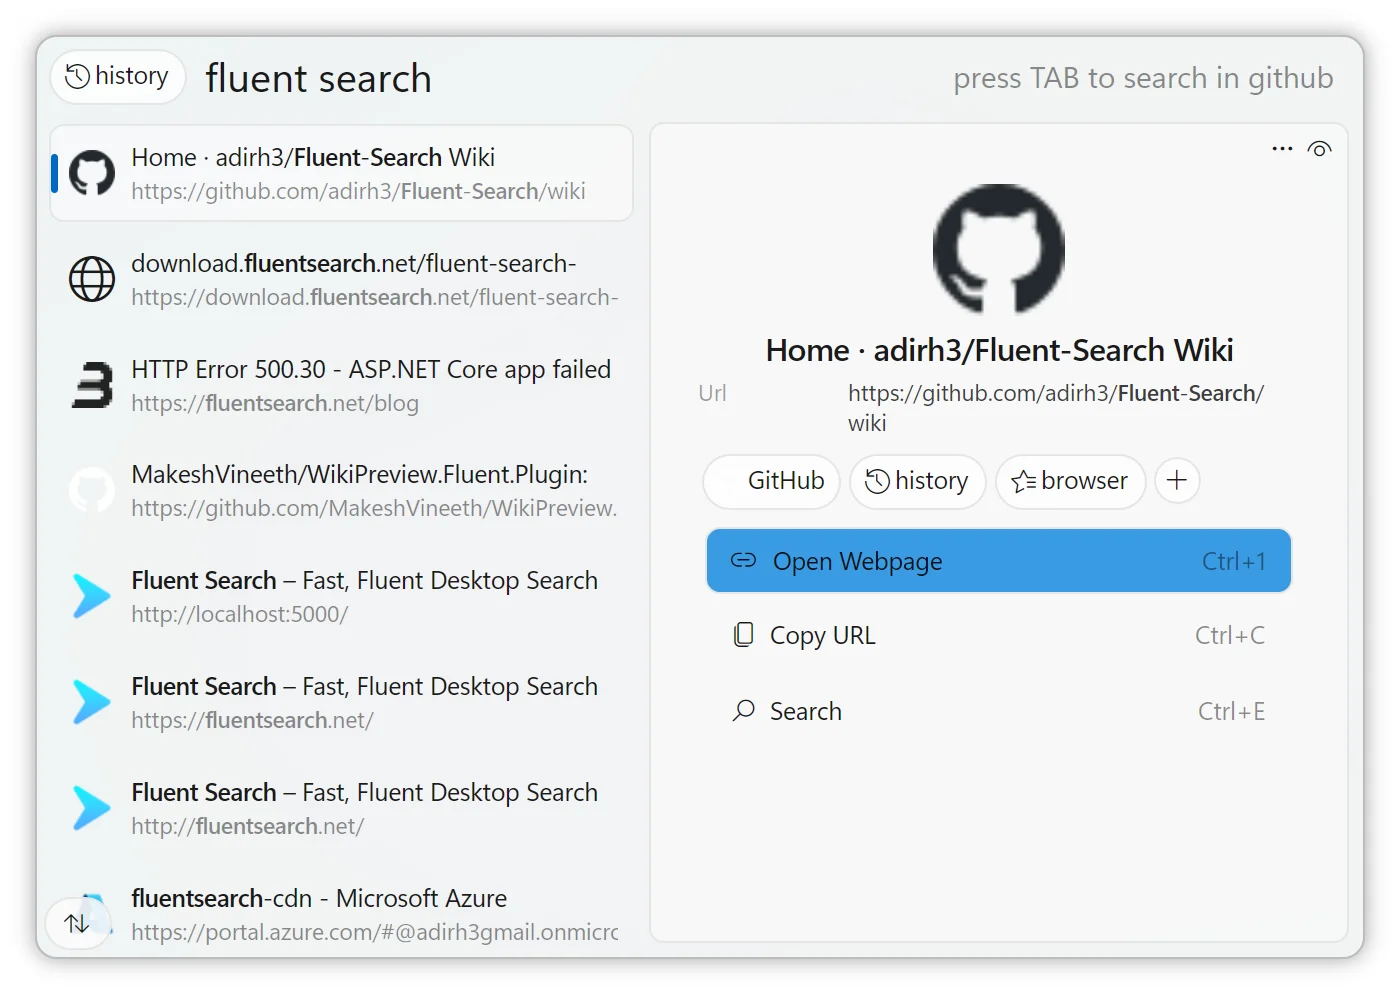
Browser Search App in Fluent Search

The Browser search app in Fluent Search enhances your productivity by providing seamless access to your browser's bookmarks, history, and search engines directly from the Fluent Search interface. It automatically detects profiles from Chromium-based browsers and Firefox, allowing you to search across all your browsing data efficiently.
Automatic Detection and Indexing
Upon installation, Fluent Search scans your system for supported web browsers and their profiles. Once detected, it indexes bookmarks and browsing history, enabling quick searches without the need to open the browser.
Supported Browsers
Chromium-Based Browsers: Google Chrome, Microsoft Edge, Brave, Opera, and others.
Mozilla Firefox: All profiles associated with Firefox installations.
Searching Bookmarks and History
To search through your bookmarks and browsing history:
Activate Fluent Search:
- Press
Ctrl + Altto open the Fluent Search interface.
- Press
Enter Your Query:
- Type keywords related to the desired bookmark or previously visited page.
View Results:
- Matching bookmarks and history entries will appear in the search results.
- Select the desired result to open it in your default browser.
Profile Management
Fluent Search allows you to manage which browser profiles are included in the search index.
Enabling or Disabling Profiles
Open Settings:
- Activate Fluent Search (
Ctrl + Alt). - Type
settingsand select the Settings option.
- Activate Fluent Search (
Navigate to Browser Settings:
- In the Settings window, go to
Apps>Browser>Profiles.
- In the Settings window, go to
Manage Profiles:
- A list of detected browser profiles will be displayed.
- Use the toggle switch next to each profile to enable or disable it.
Adding Profiles Manually
If a profile isn't detected automatically, you can add it manually:
In the Profiles Section:
- Click the
Add Profilebutton.
- Click the
Enter Profile Details:
- Browser Type: Select the browser (e.g., Chrome, Firefox).
- Profile Name: Assign a name to the profile.
- Profile Path: Specify the path to the profile directory.
Save the Profile:
- Click
Saveto include the new profile in the search index.
- Click
Automatic Search Tag Creation
Fluent Search enhances search efficiency by automatically generating search tags based on your browsing habits.
How It Works
Usage Analysis: The application monitors your frequent searches and website visits.
Tag Generation: When a pattern is identified (e.g., frequent searches on Amazon), Fluent Search creates a corresponding tag (e.g.,
amazon).
Using Automatic Tags
Invoke Fluent Search:
- Press
Ctrl + Alt.
- Press
Enter the Tag:
- Type the generated tag (e.g.,
amazon) followed by your search query.
- Type the generated tag (e.g.,
Execute the Search:
- Press
Enterto perform the search directly on the associated website.
- Press
This feature streamlines the process of conducting site-specific searches without manually navigating to the website.
By leveraging the Browser search app in Fluent Search, you can efficiently access and manage your bookmarks, browsing history, and streamline your web search experience through intelligent tag generation and profile management.