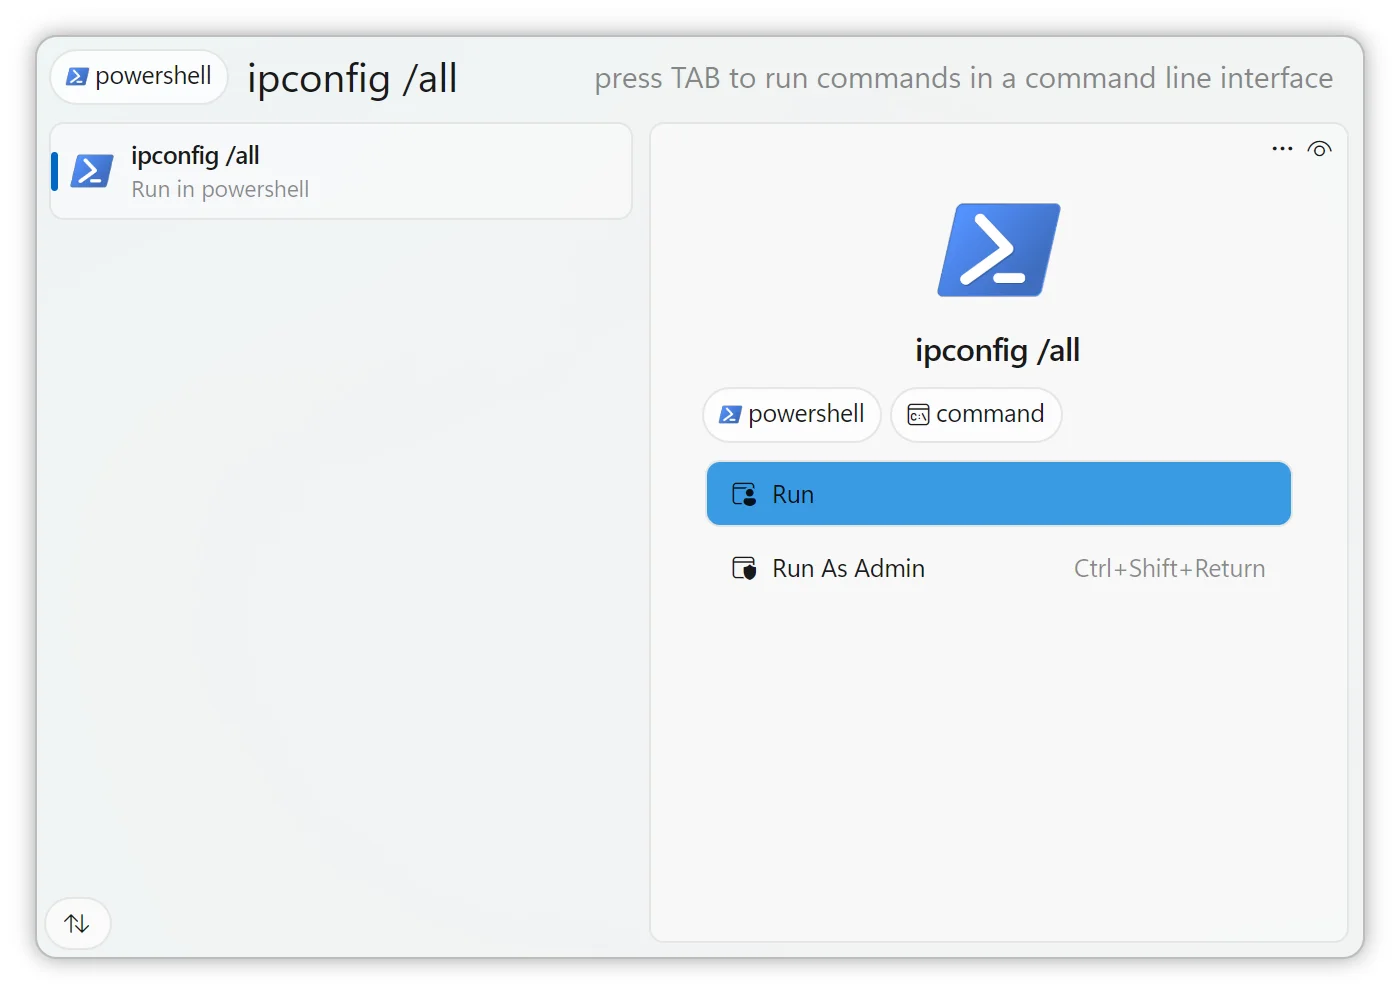
Commands Search App in Fluent Search

The Commands search app in Fluent Search enhances your productivity by allowing you to execute command-line instructions directly from the search interface. It also provides quick access to your command history and replicates the functionality of the Windows Run dialog through the Run tag. By configuring command-line interfaces (CLIs) within Fluent Search, you can streamline your workflow and integrate command execution seamlessly into your daily tasks.
Executing Commands
To run commands using the Commands search app:
Activate Fluent Search:
- Press
Ctrl + Altto open the Fluent Search interface.
- Press
Enter the Command:
- Type your desired command as you would in a command prompt.
- Press
Enterto execute the command.
Fluent Search will run the command using the default command-line interpreter and display the output accordingly.
Accessing Command History
Fluent Search maintains a history of executed commands, allowing for quick recall and reuse:
View Command History:
- In the Fluent Search interface, type a keyword related to a previously executed command.
- Matching historical commands will appear in the search results.
Execute a Previous Command:
- Select the desired command from the history.
- Press
Enterto run it again.
Using the Run Tag
The Run tag in Fluent Search emulates the Windows Run dialog, enabling quick access to applications and system paths:
Invoke the Run Functionality:
- Type
Run:followed by the application name or path.- For example:
Run: notepad.exeorRun: C:\Users\YourUsername\Documents.
- For example:
- Type
Execute the Command:
- Press
Enterto open the specified application or directory.
- Press
Configuring Command-Line Interfaces
To customize which command-line interpreters are available in Fluent Search:
Open Settings:
- Activate Fluent Search (
Ctrl + Alt). - Type
settingsand select the Settings option.
- Activate Fluent Search (
Navigate to Command-Line Interfaces:
- In the Settings window, go to
Apps>Commands>Command-Line Interfaces.
- In the Settings window, go to
Add a New Interface:
- Click the
Addbutton. - Provide the following details:
- Name: A descriptive name for the CLI (e.g., "PowerShell", "Git Bash").
- Executable Path: The full path to the CLI executable.
- Arguments: Any default arguments to include when launching the CLI.
- Click the
Save the Configuration:
- Click
Saveto add the new CLI to Fluent Search.
- Click
You can add multiple command-line interfaces and select a default one for general use.
Setting a Favorite Command-Line Interface
Designating a favorite CLI allows Fluent Search to integrate it with other search apps, such as opening a folder in the command line:
Access Command-Line Interfaces Settings:
- Go to
Settings>Commands>Command-Line Interfaces.
- Go to
Set as Favorite:
- In the list of configured CLIs, click the star icon next to the one you prefer.
The favorite CLI will now be used for related operations across Fluent Search, enhancing consistency and efficiency in your workflow.
By leveraging the Commands search app and configuring your preferred command-line interfaces, Fluent Search becomes a powerful tool for executing commands and managing tasks directly from a unified interface.